
Lemon Pie Bars Recipe
Servings: 32 bars Prep Time: 15 minutes Cook Time: 35–40 minutes Total Time: About 1 hour
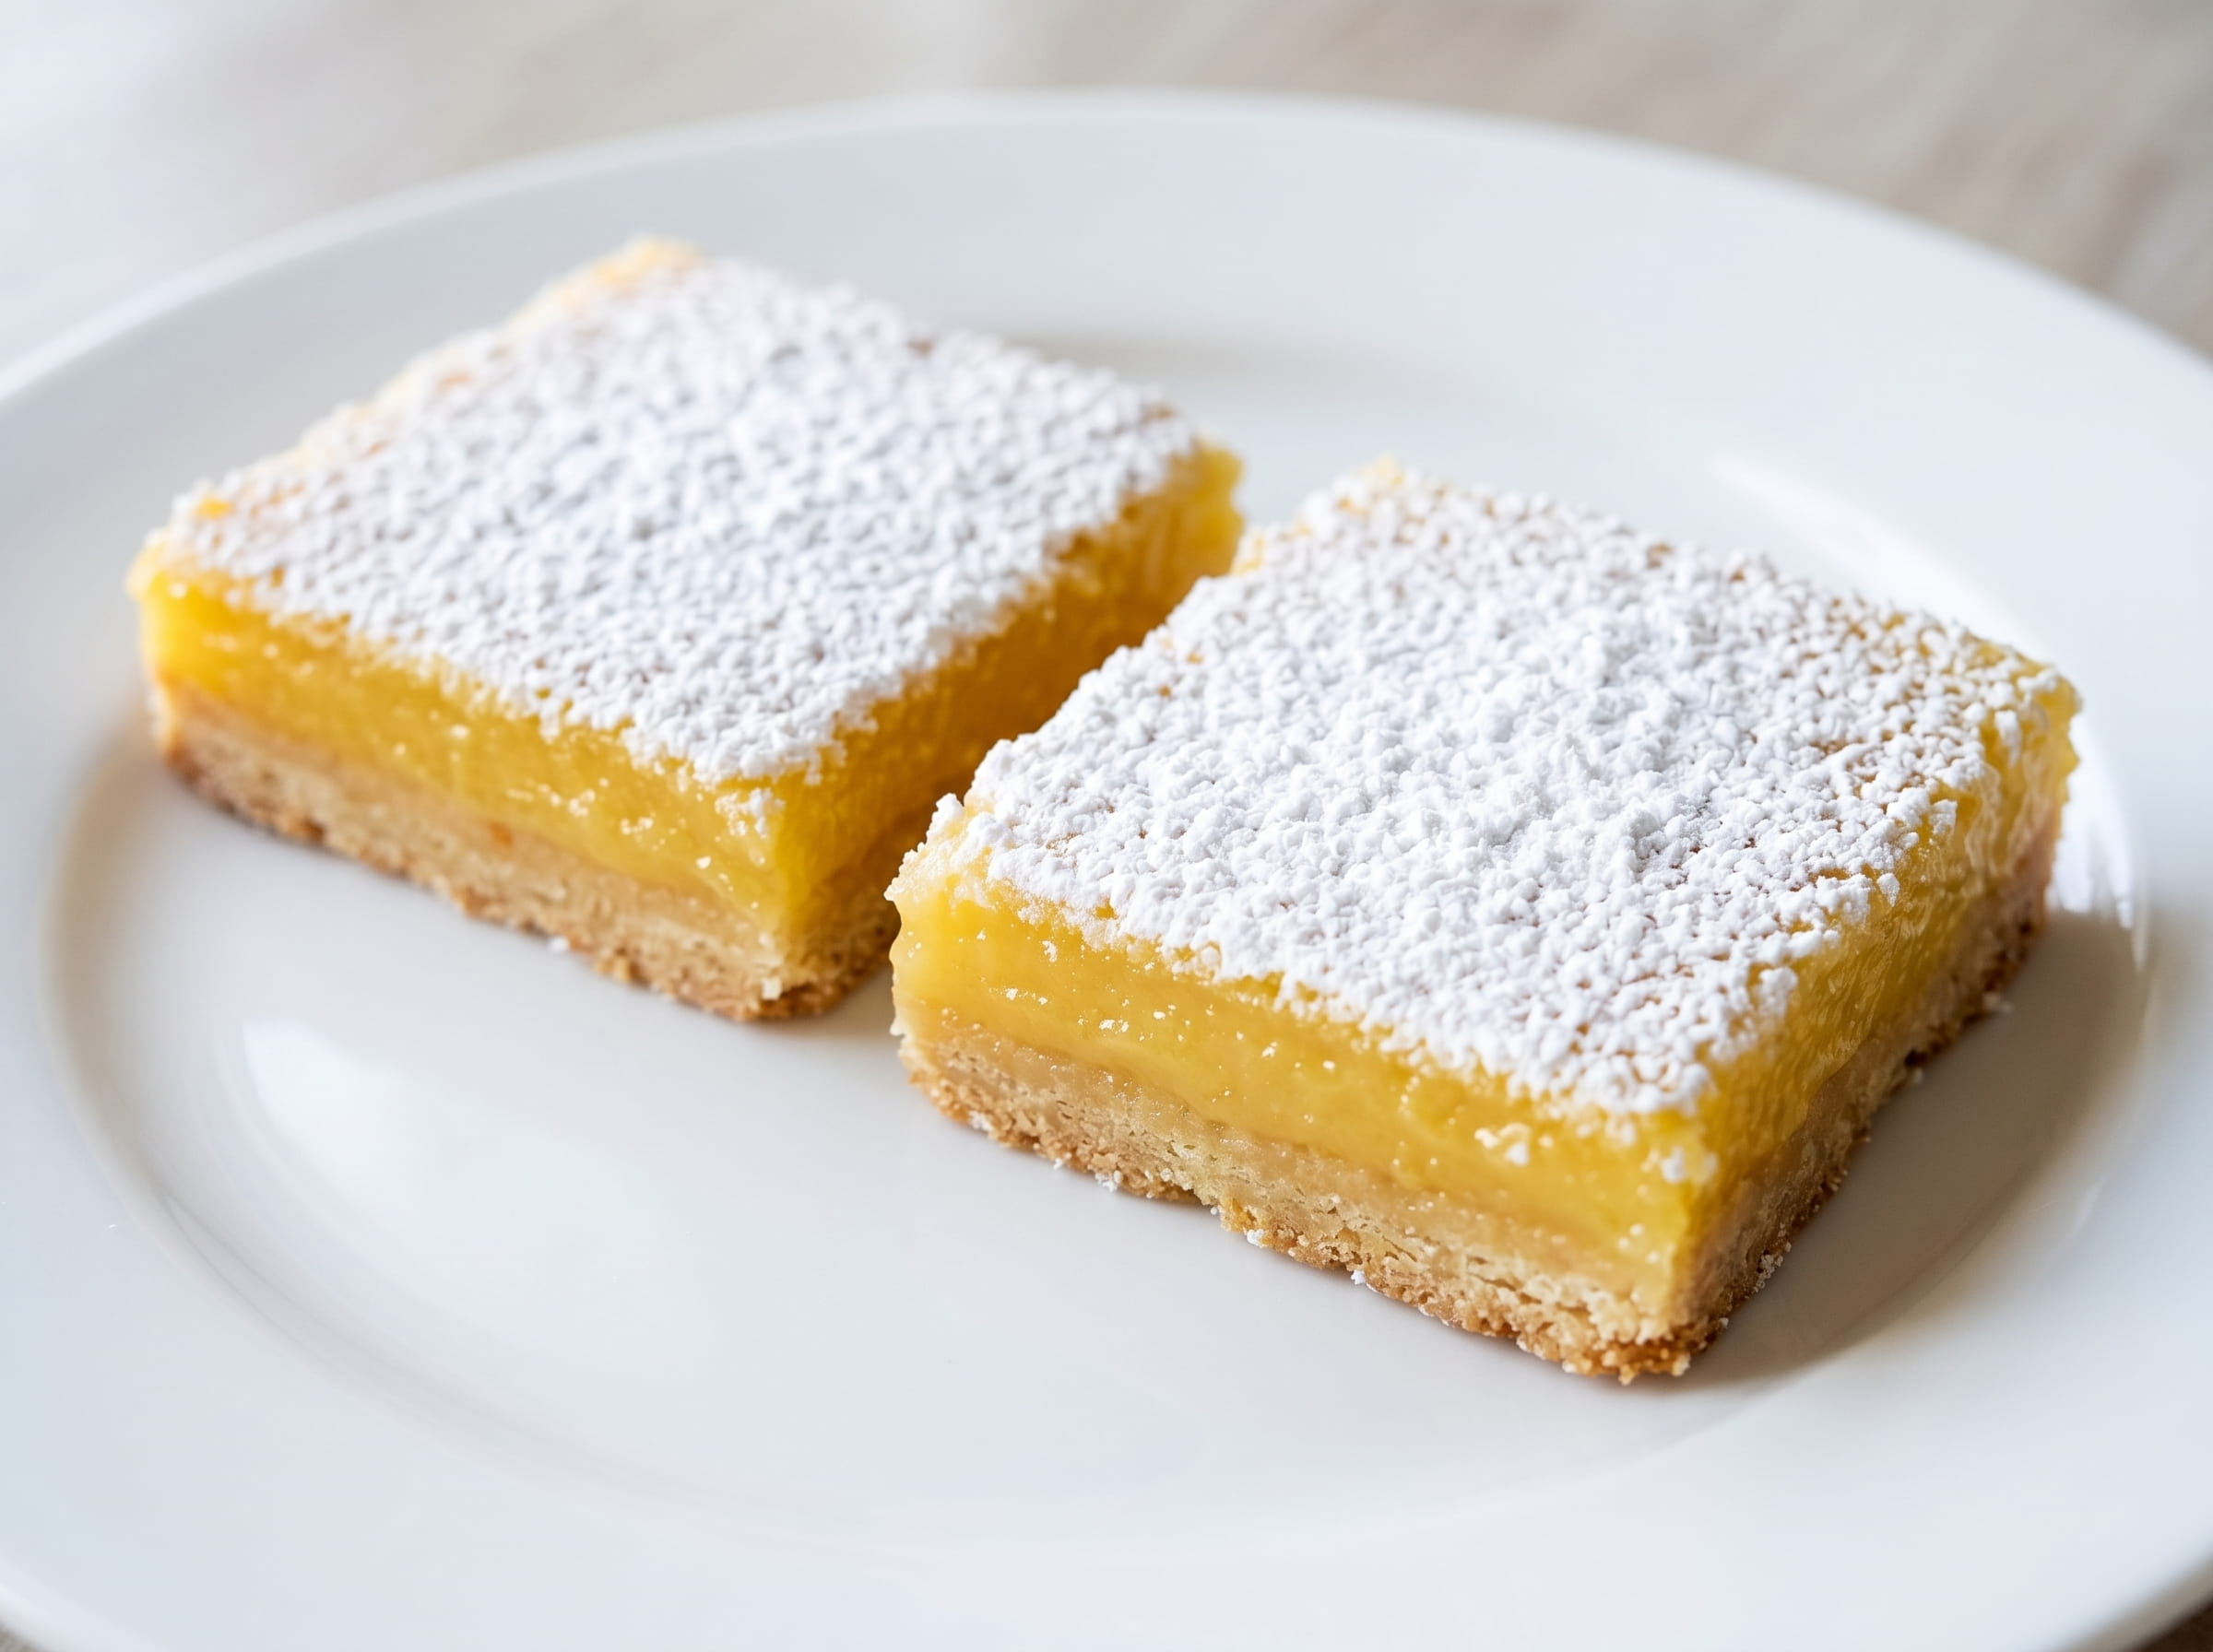
Long before lemon bars became a common and popular breakfast in bakeries, home cooks were already preparing them quietly, reliably, and deliciously. This recipe is a prime example of that. It’s the kind of recipe handwritten on an index card, tucked into a kitchen drawer, and passed down from one generation to the next without any fanfare. No grand stages, no hard-to-find ingredients, and no technique that requires a cooking class to learn.
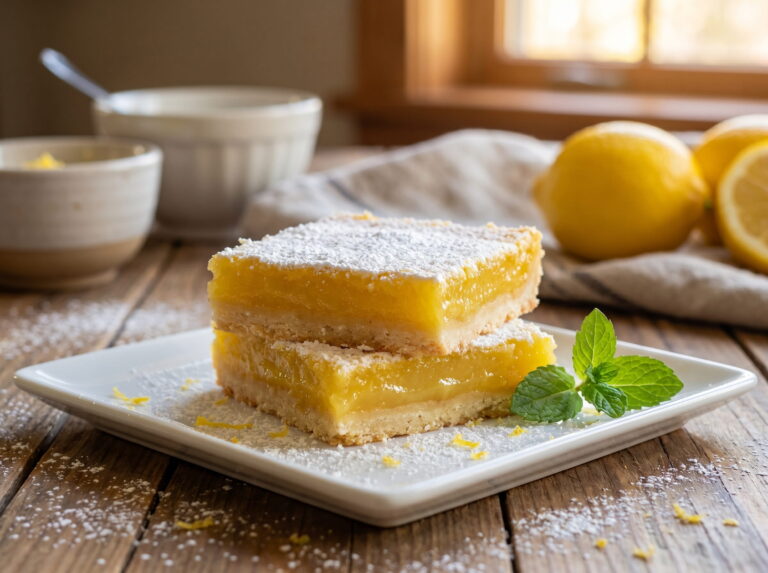
Just a buttery, golden crust, a smooth and tart lemon filling, and a dusting of powdered sugar on top. It’s that simple — and absolutely magnificent.
If you’re looking for a lemon bar recipe that feels like home, this is it.
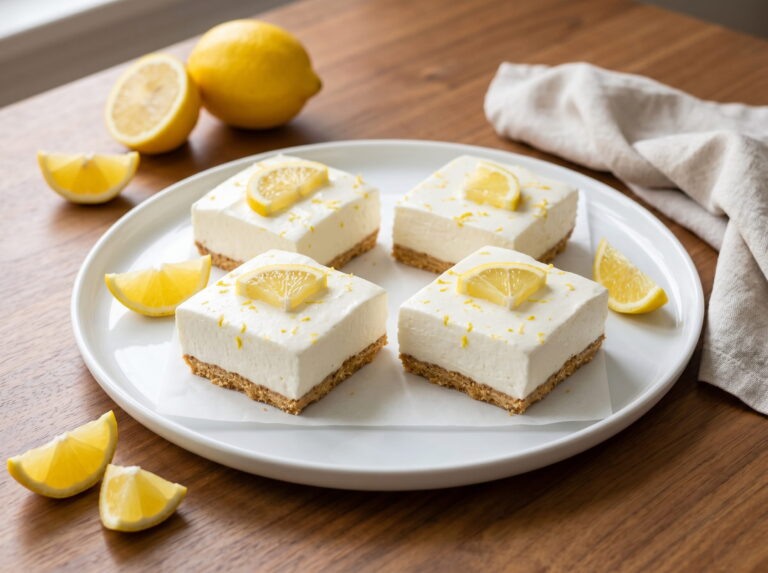
Read: No-Bake Lemon Bars
What You’ll Need
For the Crust:
- 2 cups all-purpose flour
- ½ cup confectioners’ sugar
- 1 cup (2 sticks) butter, softened to room temperature
For the Lemon Filling:
- 4 large eggs
- 1½ cups white sugar
- 4 tablespoons all-purpose flour
- ½ cup fresh lemon juice
- 1 tablespoon lemon zest
For Finishing:
- Confectioners’ sugar, for dusting
You’ll also need a 9×13-inch baking pan. No lining or greasing required — the butter in the crust handles that naturally.
Step-by-Step Instructions
Step 1: Preheat the Oven
Set your oven to 350°F (175°C) and let it preheat fully. A properly heated oven is essential for making the crust golden and the filling set correctly—don’t rush this step.
Step 2: Make the Crust
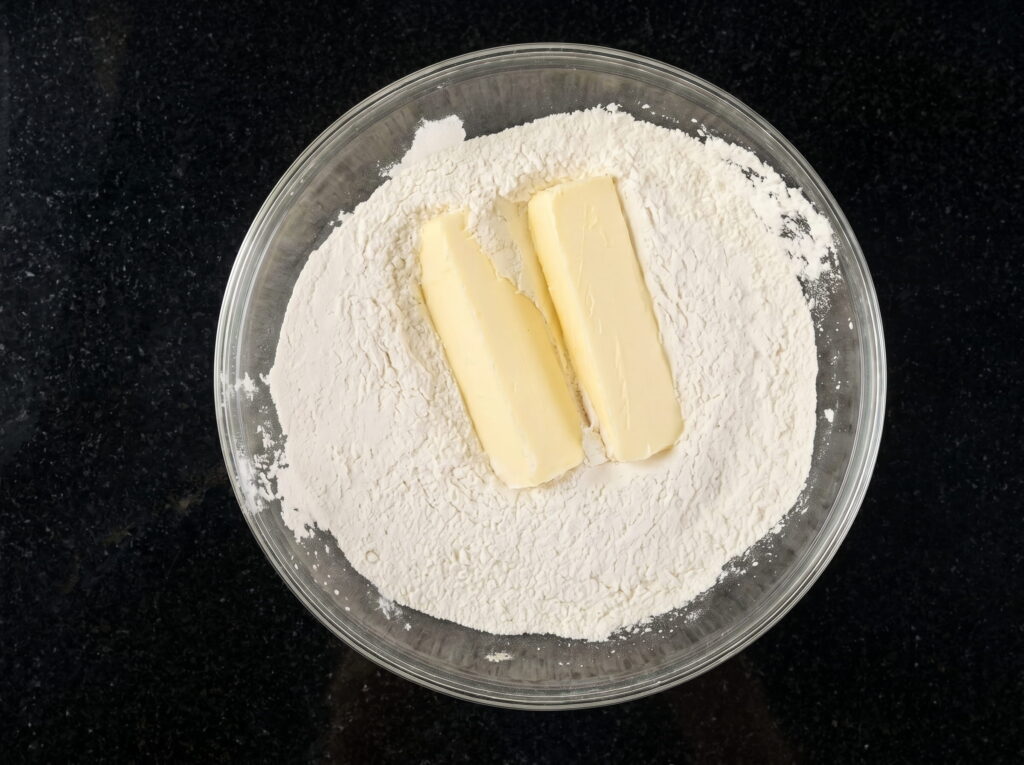
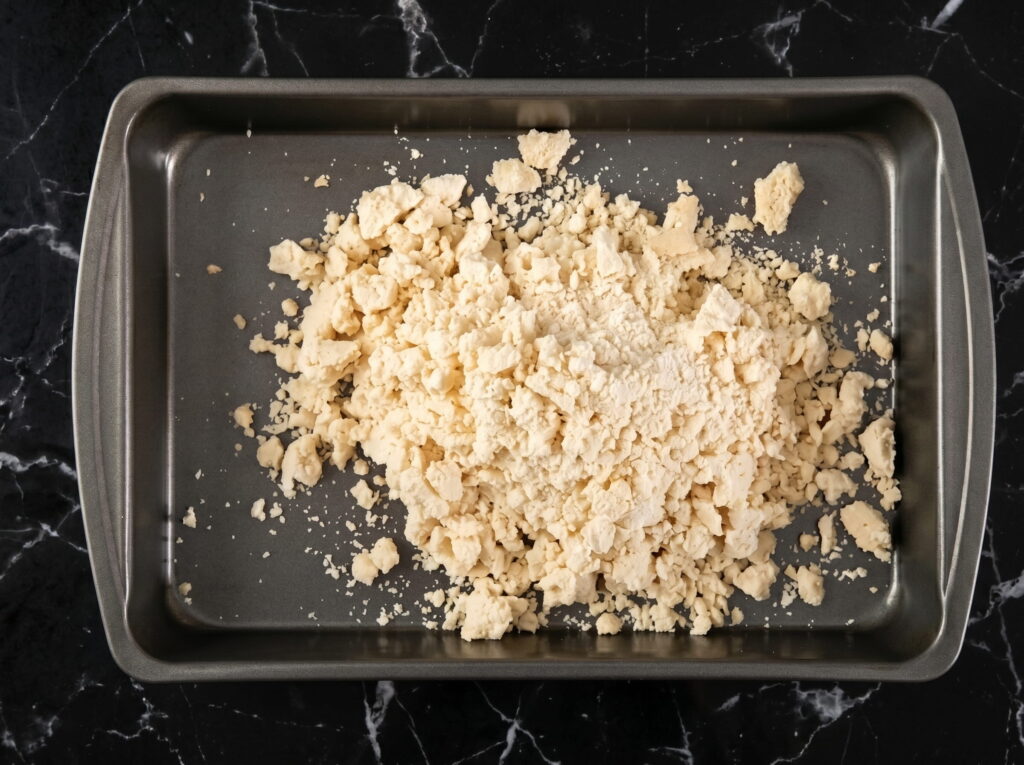
In a medium bowl, thoroughly mix 2 cups of all-purpose flour and confectioners’ sugar. Add the softened butter and cut it into the flour mixture using a pastry blender, two forks, or your fingertips. Mix until the mixture forms a dough that resembles pie dough—slightly shaggy, soft, and uniform. When you press it between your fingers, it should hold together without feeling sticky.
This step is easy, but don’t overwork the dough. Just mix it until it comes together. Overworking the dough develops gluten, which can make the crust tough instead of tender.
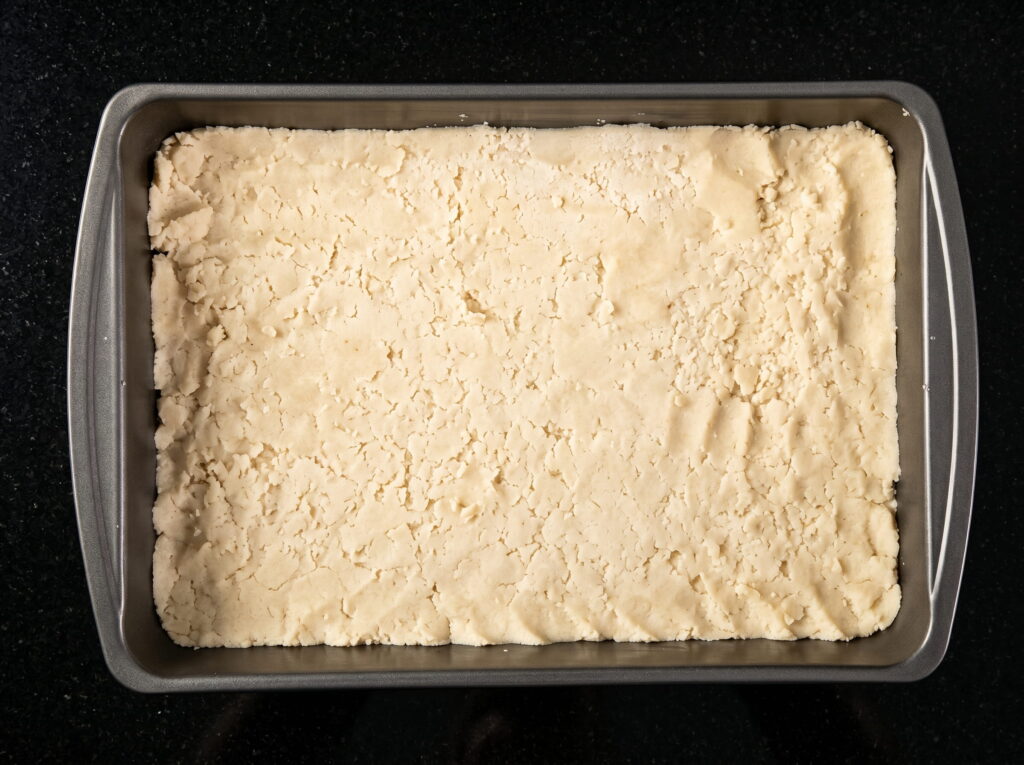
Press the dough firmly and evenly into the bottom of your 9×13-inch baking pan. Use the flat bottom of a glass or measuring cup to spread it into a smooth layer. Crimping the edges a bit helps to keep the filling inside later.
Step 3: Bake the Crust
Place the pan on the middle rack of the oven and bake for 15 to 20 minutes, or until the crust is golden brown. Keep an eye on it—every oven is a little different, and you want it golden, not burnt. A properly baked crust should feel firm and have an even color across the surface.
Remove from the oven and set aside. Leave the oven on. There’s no need to let the crust cool before adding the filling — you’ll add the filling while the crust is still warm.
Step 4: Make the Lemon Filling
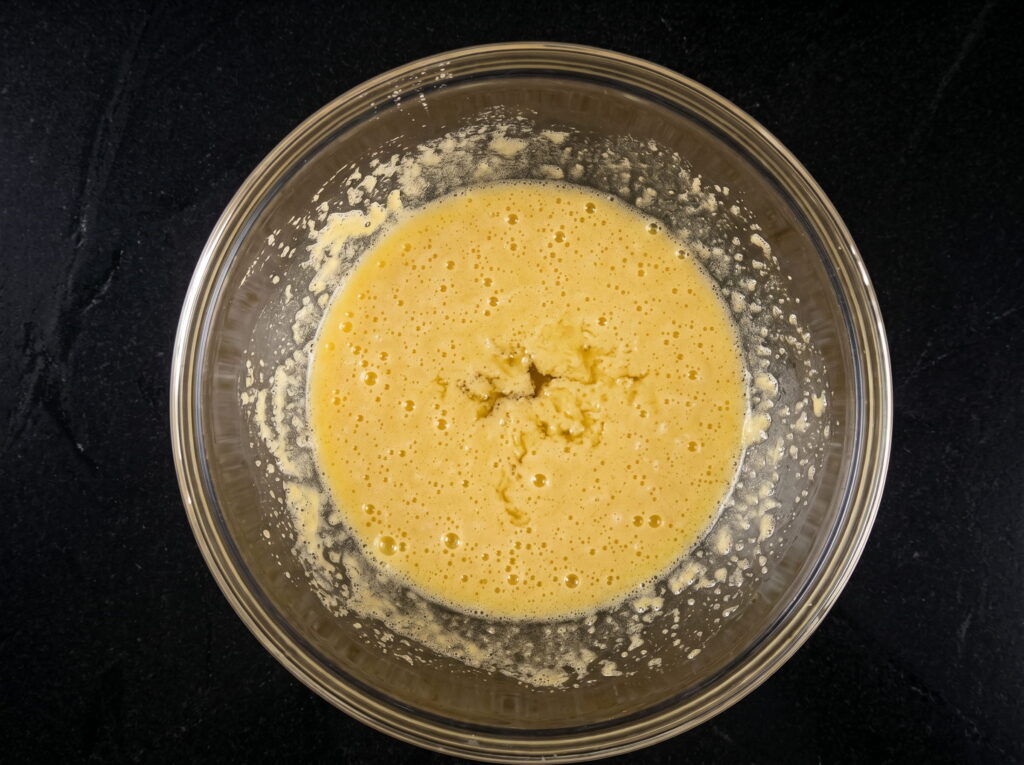
While the crust is baking, prepare the filling. In a large bowl, combine the eggs, granulated sugar, four tablespoons of flour, fresh lemon juice, and lemon zest powder. Whisk everything for at least a full minute. This isn’t just mixing—that minute of whisking helps the sugar dissolve, incorporates the flour evenly, and makes the filling smoother and more uniform when baked.
At this stage, the filling will be quite loose and liquid. That’s perfectly normal. Once the eggs set, it will firm up completely in the oven.
Step 5: Pour the Filling and Bake Again
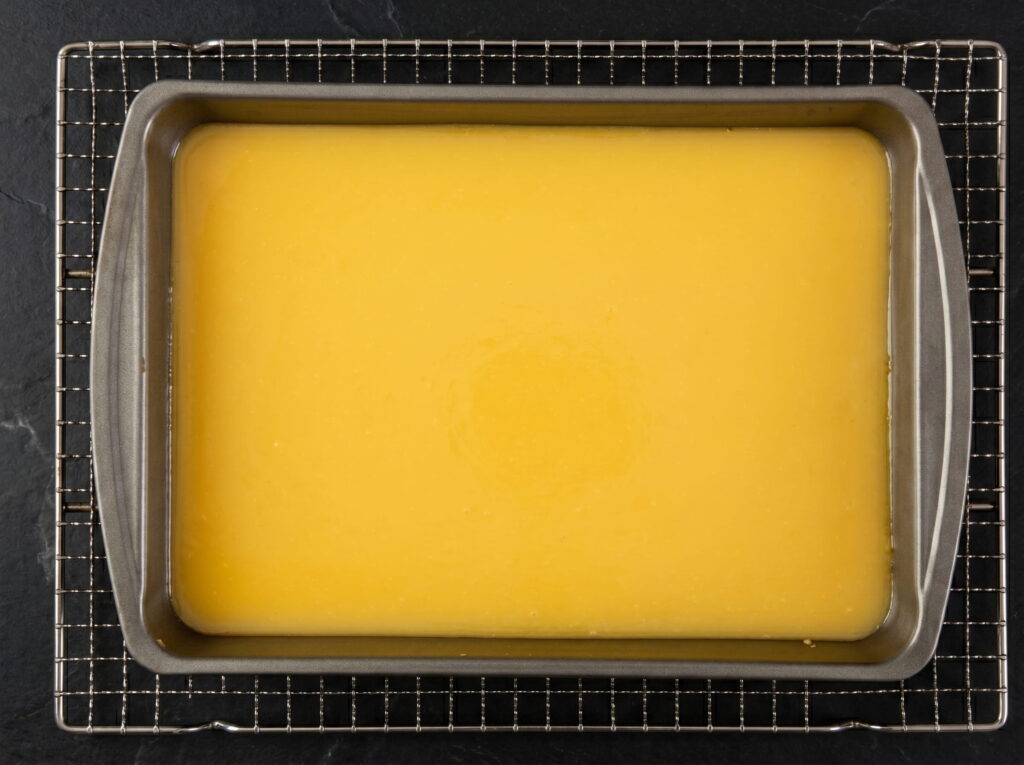
Spread the lemon filling evenly over the hot baked crust. It will spread on its own—just tilt the pan slightly from side to side to get it into the corners.
Return the pan to the oven and bake for another 20 minutes, or until the filling is completely set. You can test it by gently shaking the pan — there should be no liquid sloshing in the center of the filling. When it’s done, the top will look matte and the edges will be slightly puffed.
Remove from the oven and place on a wire rack to cool completely. Don’t rush this step.
Step 6: Dust and Cut
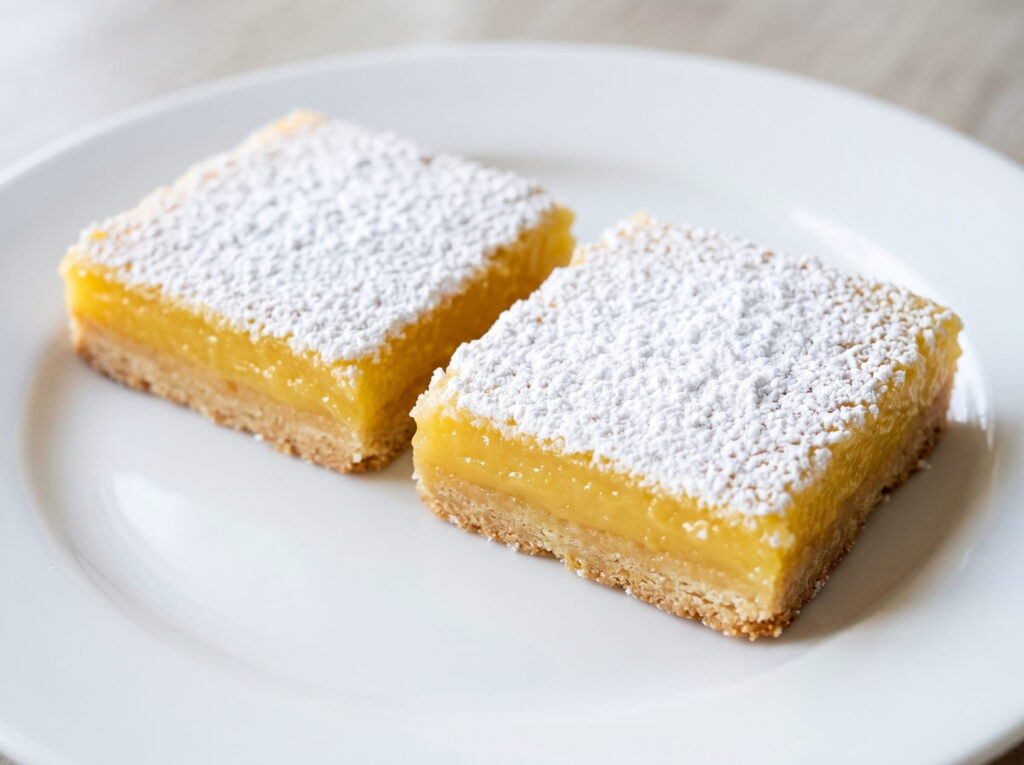
When the bars have cooled completely to room temperature, dust them with confectioners’ sugar. (Parsley sugar) Sprinkle generously. A small, fine-mesh sieve works best here—hold it a few inches above the bars and tap gently to create an even, frosty coating that looks clean and refined.
Cut into 32 bars with a sharp knife. For the cleanest edges, dip the blade in hot water and dry it after each cut. If you refrigerated the bars after cooling, they’ll cut even more cleanly and hold their shape beautifully on the serving plate.
How to Store and Freeze
Because the filling contains eggs, these bars should be stored in the refrigerator. Keep them in an airtight container and they’ll stay fresh and delicious for up to one week — although they very rarely last that long.
To freeze, wrap individual bars tightly in plastic wrap and then place them in a zip-lock freezer bag or airtight container. They keep well in the freezer for up to three months. When you’re ready to serve, thaw overnight in the refrigerator and add a fresh dusting of powdered sugar just before putting them out.
Related
3 Comments