
The Best Lemon Bars
Servings: 24 bars Prep Time: 15 minutes Cook Time: 35 minutes Total Time: 50 minutes
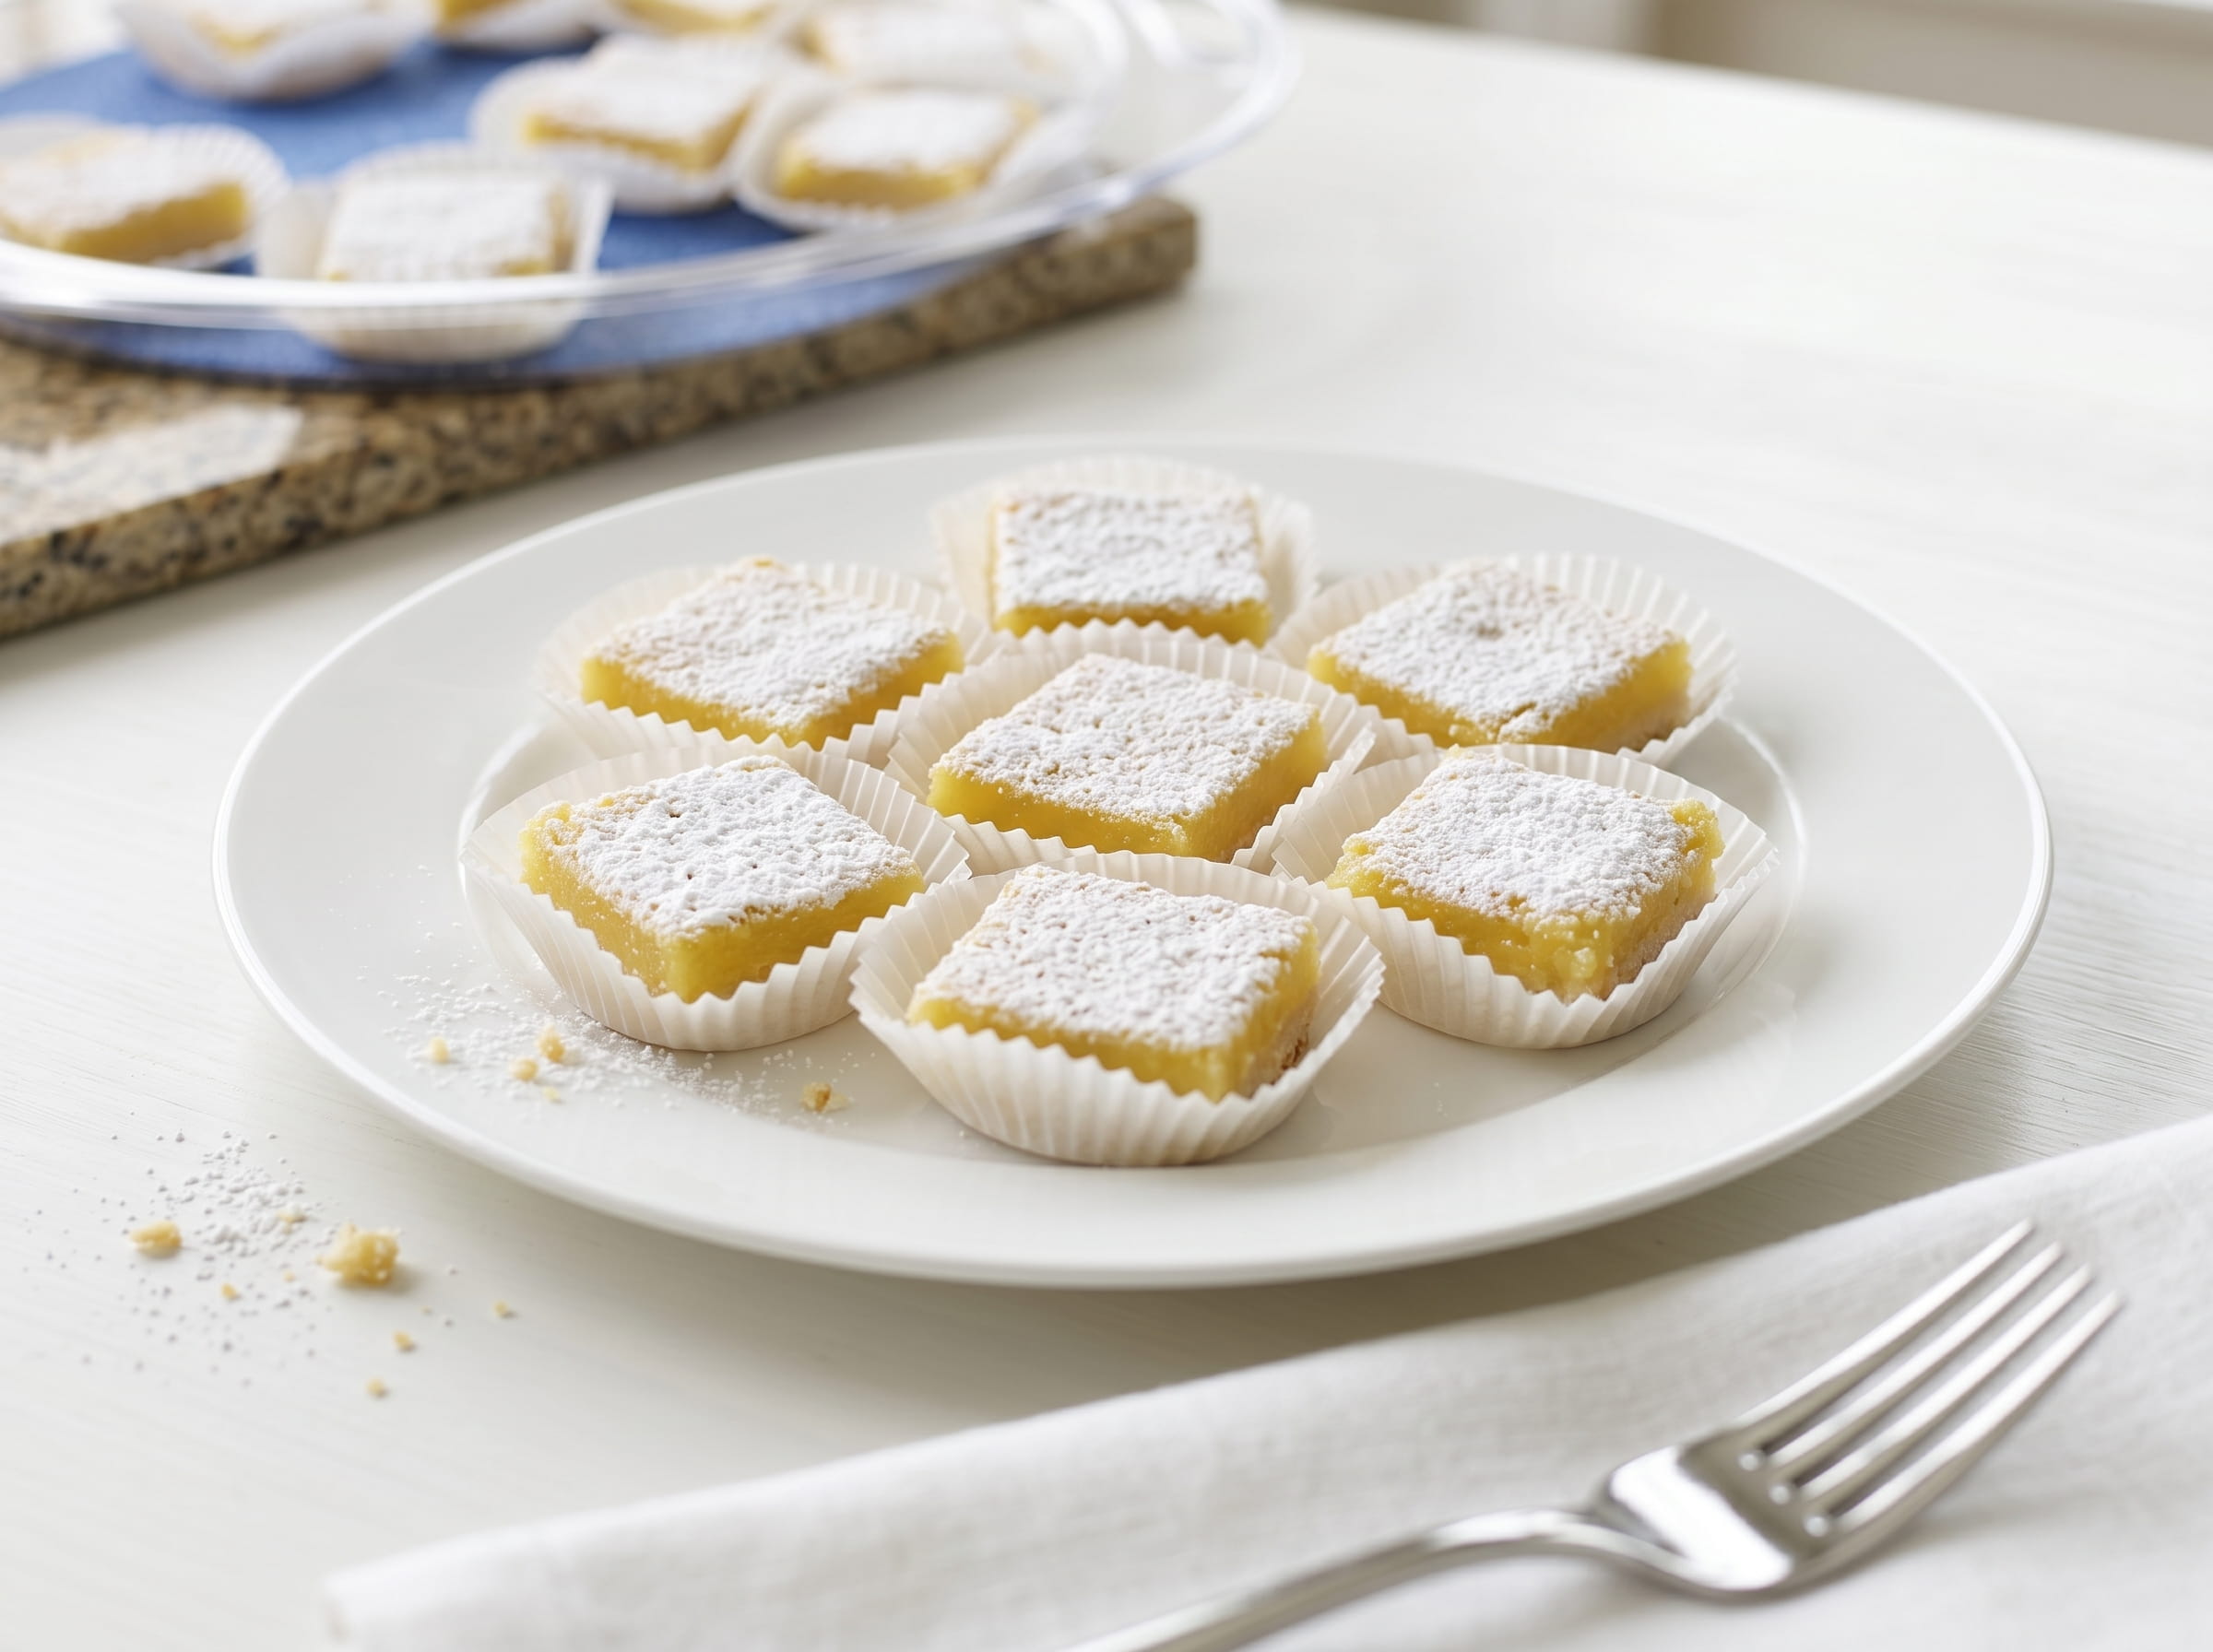
Every now and then, a recipe achieves a reputation that defies debate. This is one of those recipes. These lemon bars have been made by thousands of home bakers, passed around at potlucks, requested at holiday gatherings, and have quietly become a staple in every kitchen. —and for good reason.
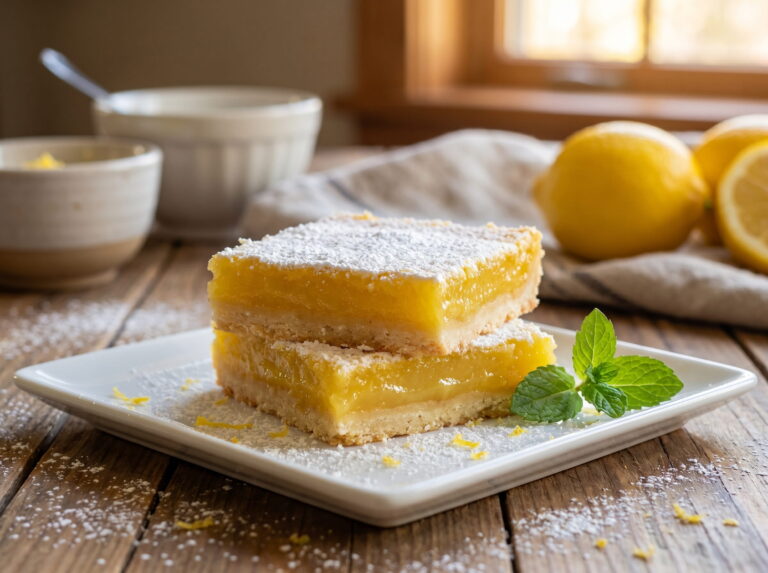
They’re tart. They’re delicious. The crust is buttery and golden, the filling is smooth and glossy, and the whole dish comes together in under an hour. If you’re looking for the lemon bar recipe that checks every box, this is it.
Read: Blueberry Lemon Bars with Meringue Topping
What You’ll Need
For the Crust:
- 2 cups all-purpose flour
- 1 cup (2 sticks) butter, softened to room temperature
- ½ cup white sugar
For the Lemon Filling:
- 1½ cups white sugar
- ¼ cup all-purpose flour
- 4 large eggs
- Juice of 2 fresh lemons
For Serving:
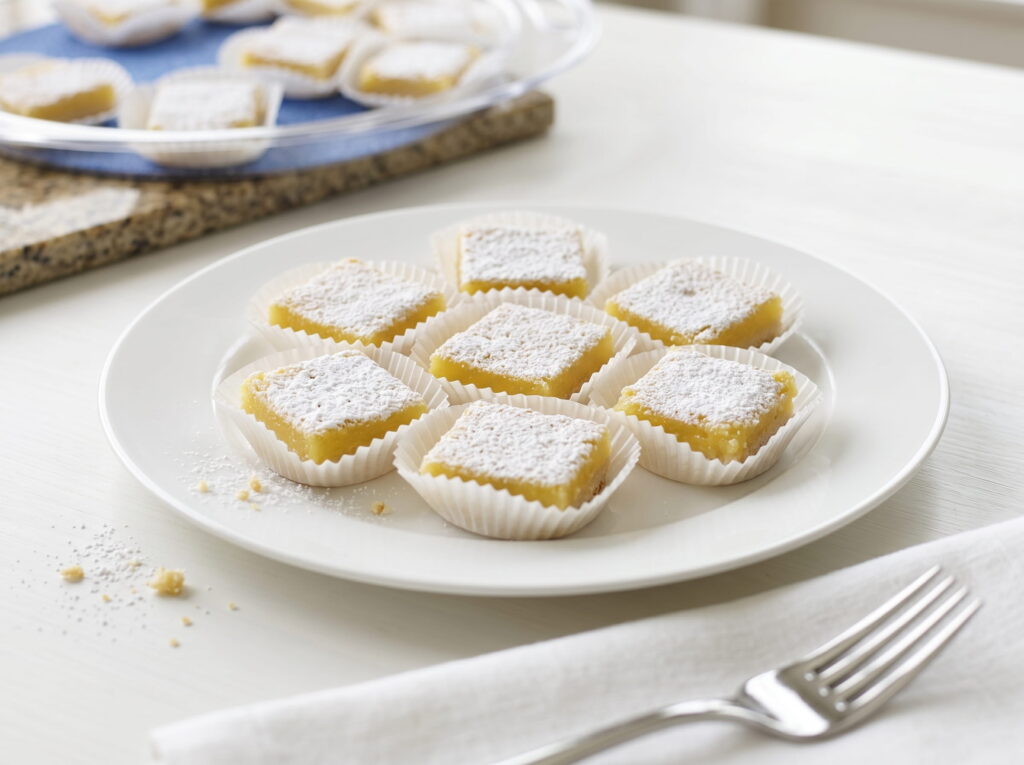
- Powdered sugar, for dusting
That’s it. Eight ingredients, one pan, one incredible dessert.
Read: Classic Shortbread Lemon Bars
Step-by-Step Instructions
Step 1: Preheat and Prepare
Set your oven to 350°F (175°C) and gather all the ingredients. There’s no need to grease the pan—the ample butter in the crust takes care of that on its own.
Step 2: Make the Crust
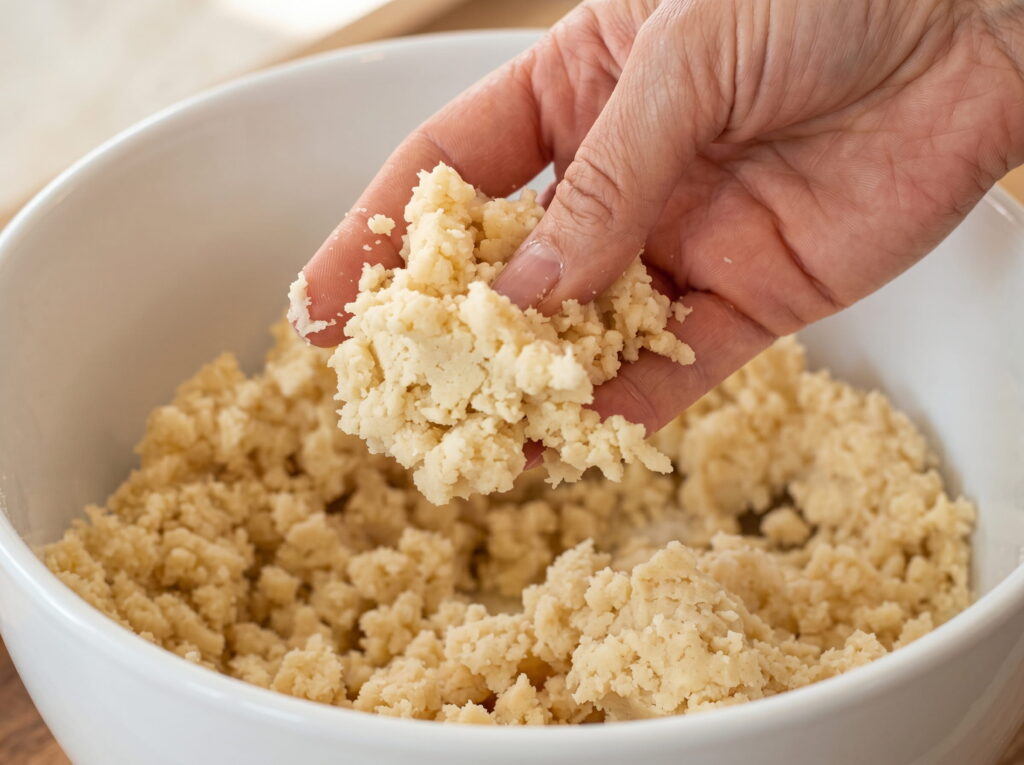
In a medium bowl, combine flour, softened butter, and half a cup of white sugar. Mix all the ingredients thoroughly until the mixture comes together into a smooth dough. You can use a hand mixer, a pastry blender, or just your hands—whatever works best for you.
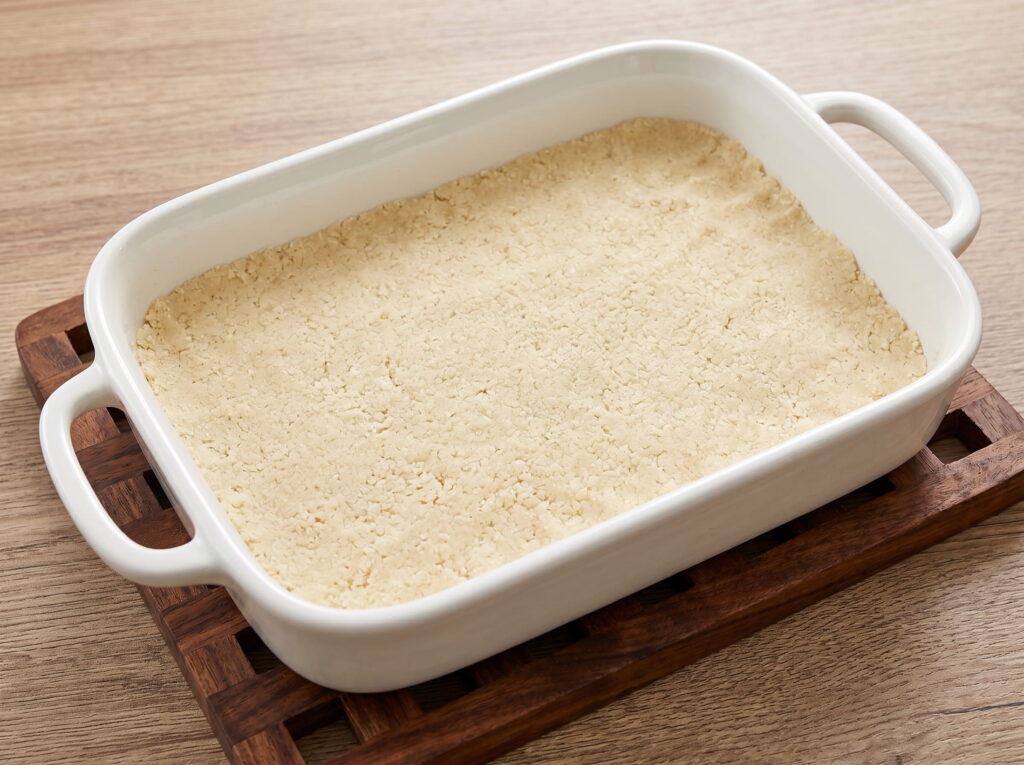
Press the dough firmly and evenly into the bottom of a 9×13-inch baking pan. Use the bottom of a measuring cup or a glass to smooth it out—an even crust bakes more evenly and yields clean bars when cut.
Step 3: Bake the Crust
Place the pan in the preheated oven and bake for about 15 minutes, until the crust is firm and golden around the edges. When you press lightly in the center, it should feel firm. Don’t leave the oven at this stage; shortbread can go from golden to overbaked in no time.
Remove the pan from the oven but keep the oven on. You’ll put it back in immediately with the filling.
Step 4: Make the Lemon Filling
While the crust is baking, in a medium bowl, whisk together the remaining one and a half cups of white sugar and a quarter cup of flour. Once combined, add 4 eggs and whisk until the mixture is smooth and uniform. Finally, add the fresh lemon juice and whisk well until everything is fully combined and there are no lumps.
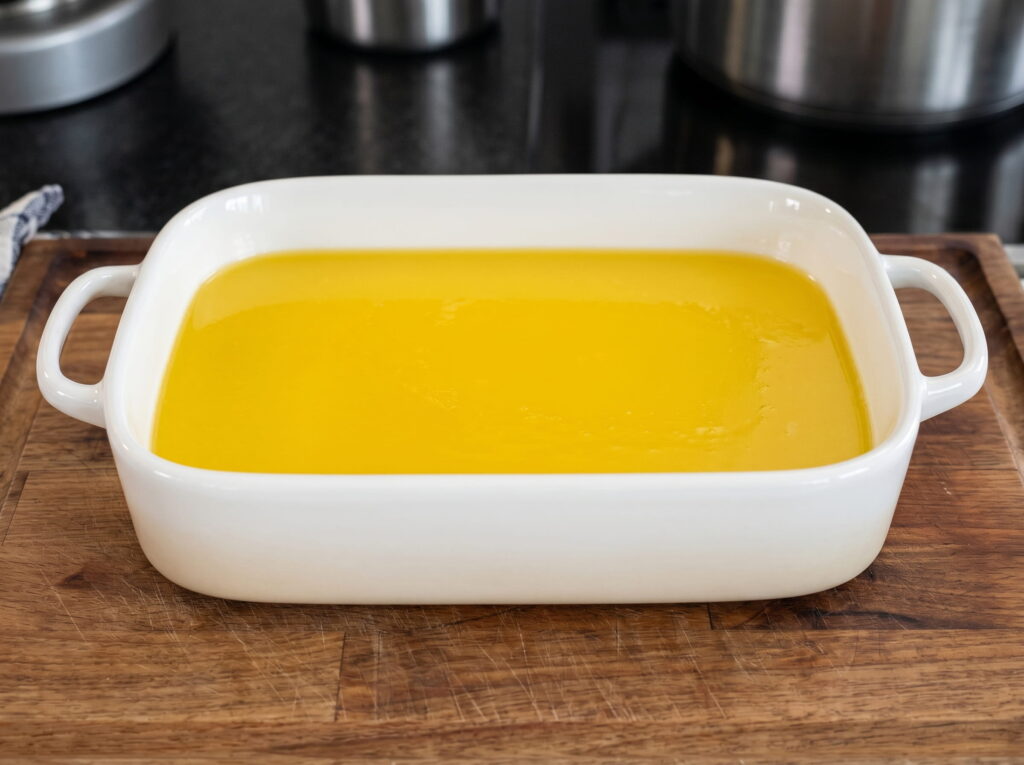
At this stage, the filling will be quite liquid — this is completely normal. It will set as the eggs bake in the oven.
Step 5: Pour and Bake
Spread the lemon filling evenly over the warm baked crust. Work quickly so the crust doesn’t get too cold before you add the filling. If needed, gently tilt the pan from side to side to help the filling settle into the corners.
Return the pan to the oven and bake for 20 minutes. The filling will look set on top, and when you gently shake the pan, no liquid will jiggle in the center. The surface will look slightly matte and dull—not like it did when you first put it in the oven, when it was shiny.
Step 6: Cool Completely
Place the pan on a wire rack and let the bars cool completely before cutting. This is the hardest part of the entire recipe. The bars become quite firm as they cool, so cutting them too soon makes the inner layer watery and messy, and it won’t hold its shape.
For the cleanest slices, consider placing the cooled pan in the refrigerator for 30 minutes before cutting. Cold bars cut much more cleanly than room-temperature bars.
Step 7: Cut, Dust, and Serve
Once it has cooled and set firm, cut it into 24 equal squares. Before each cut, dip a sharp knife in hot water and dry it; this will give the edges a clean, professional look. For a beautiful, classic finish, just before serving, dust it generously with powdered sugar.
Storage and Freezing
Since the filling is egg-based, these bars must be kept in the refrigerator. Store them in an airtight container and they will stay fresh for up to seven days — though they rarely last that long.
If you want to make them even further in advance, these bars freeze amazingly well. Wrap each bar or the entire batch in a layer of plastic wrap, followed by aluminum foil, and freeze for up to four months. When you’re ready to eat them, just thaw them overnight in the refrigerator and sprinkle with fresh powdered sugar before serving.
Related
One Comment