
No-Bake Lemon Bars
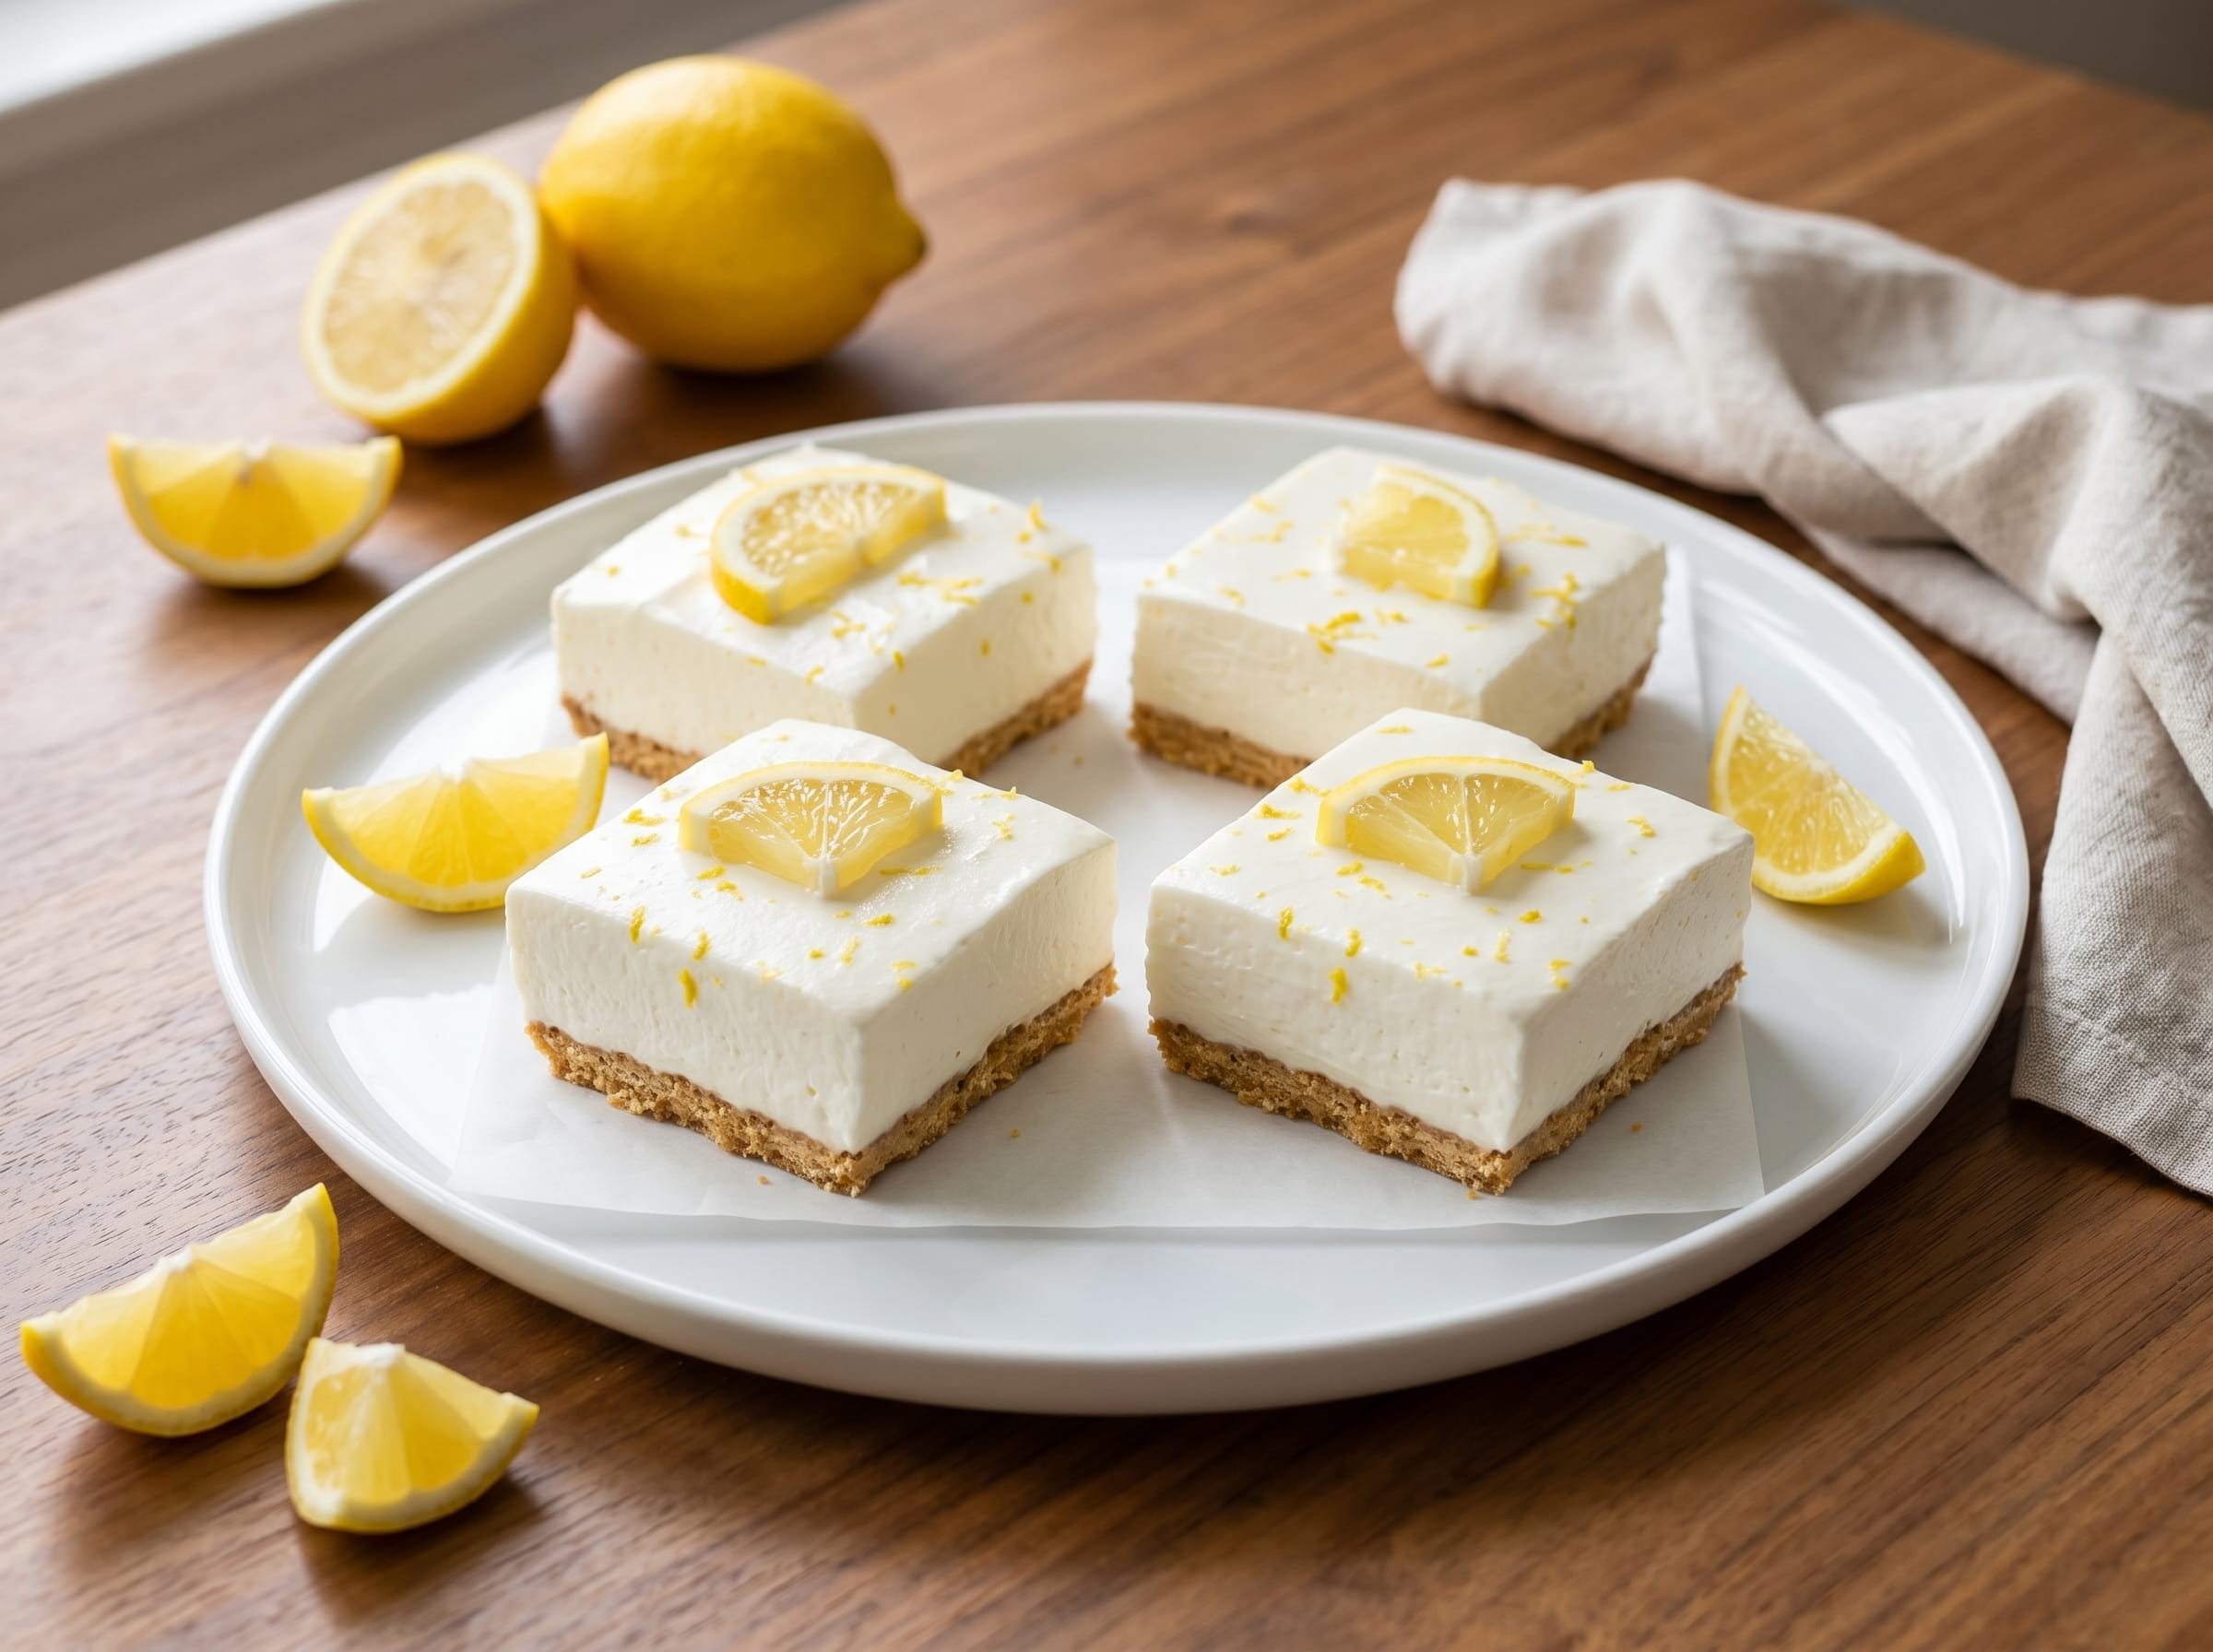
Servings: 16 bars Prep Time: 15 minutes Chill Time: 4 hours Total Time: 4 hours 15 minutes
There’s something magical about a dessert that doesn’t require turning on the oven. Especially during those hot months when the last thing you want is a hot kitchen. These no-bake lemon bars are just that kind of magic. — smooth, tart, light, and built on a buttery shortbread base that practically melts in your mouth.
The best part? You only have about fifteen minutes of hands-on work. The rest is waiting — and trust me, it’s absolutely worth it.
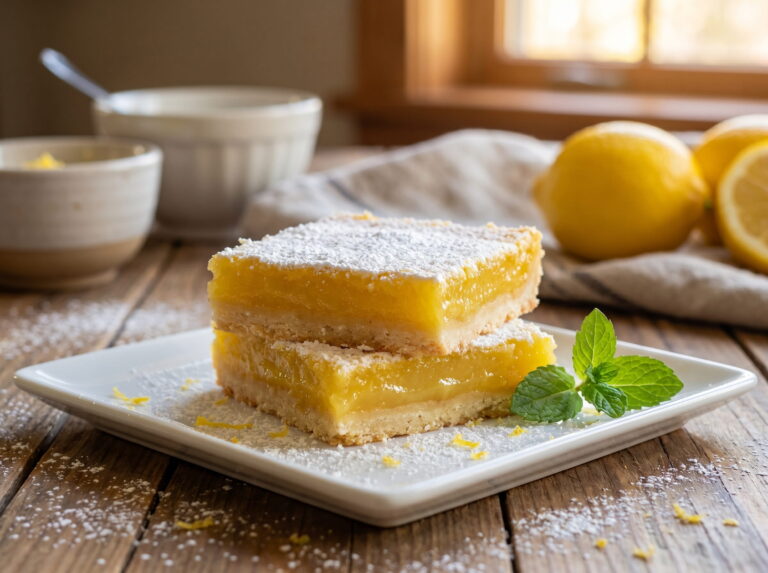
Read: Classic Shortbread Lemon Bars
What You’ll Need
For the crust:
- 1½ cups shortbread crumbs
- ¼ cup unsalted butter, melted
- 2 tablespoons white sugar
- ¼ teaspoon salt
For the filling:
- 1 can (14 oz) sweetened condensed milk
- 2 tablespoons fresh lemon zest (plus extra for garnish)
- ½ cup fresh lemon juice
- ¼ teaspoon salt
- 1½ cups heavy cream or one 8 oz container of frozen whipped topping, thawed
You’ll also need:
- An 8×8-inch square baking pan
- Parchment paper
- A hand mixer or stand mixer (if using heavy cream)
Step-by-Step Instructions
Step 1: Prepare Your Pan
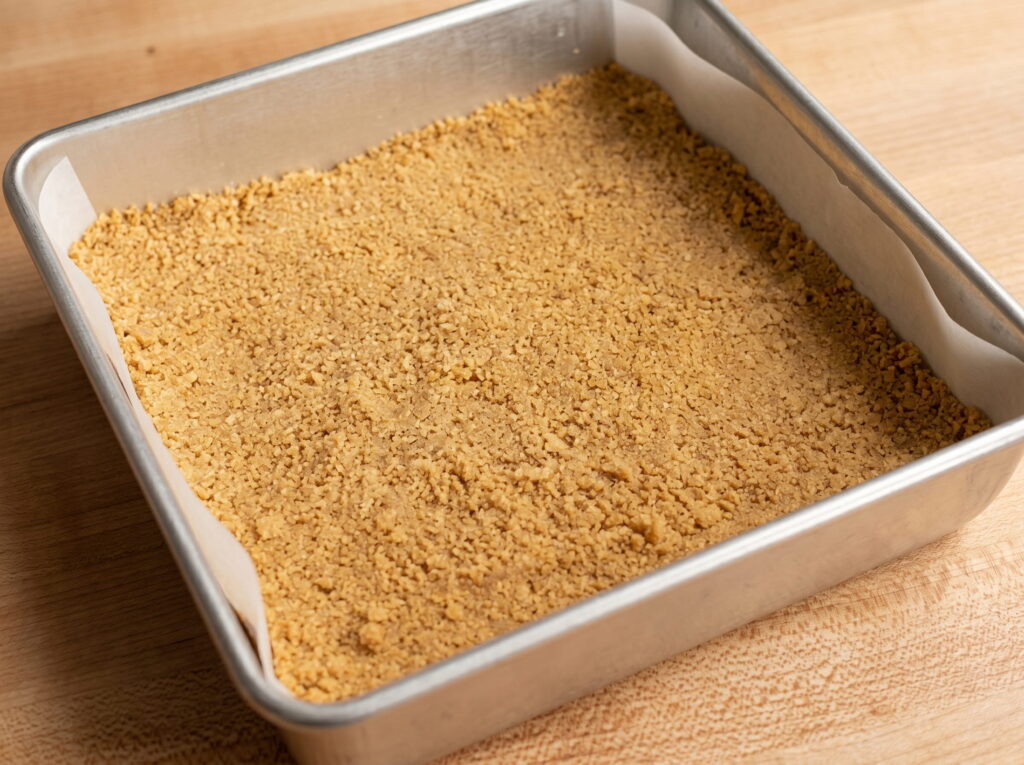
Line an 8×8-inch pan with parchment paper. Be sure to leave about 2 inches of extra paper on two opposite sides—this way you can cleanly and easily lift the bars out of the pan later. No one wants to have to dig their dessert out of the pan.
Step 2: Make the Crust
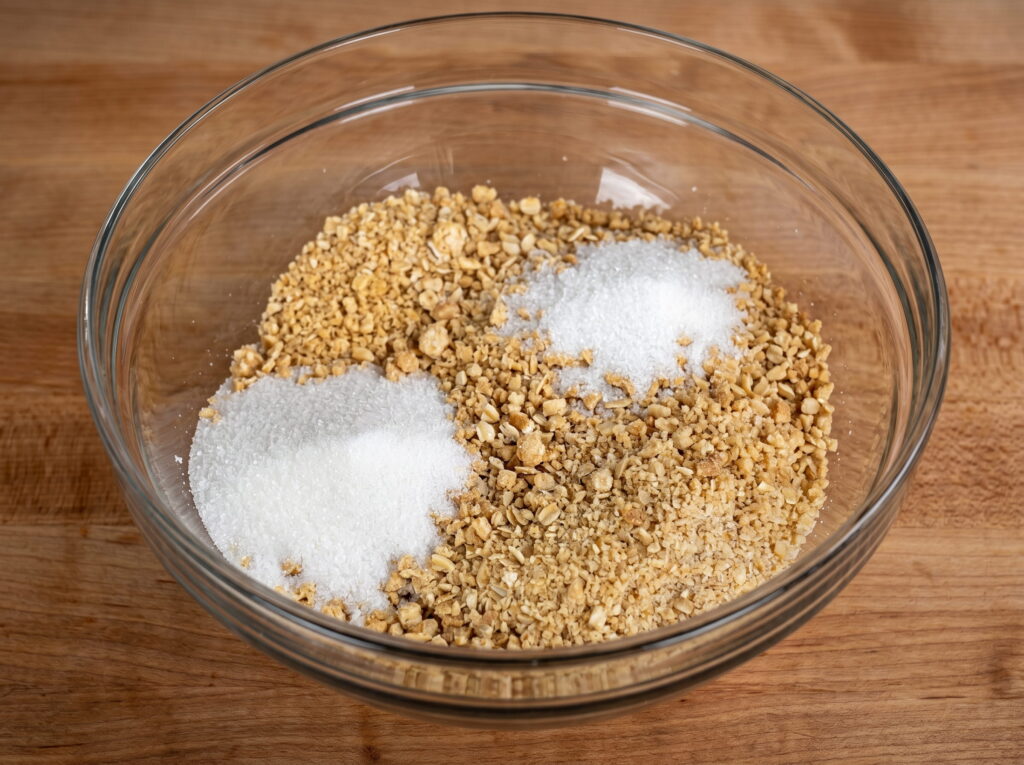
In a medium bowl, thoroughly combine the shortbread crumbs, melted butter, sugar, and ¼ teaspoon of salt. Mix until everything looks evenly moistened—just like wet sand. Pour this mixture into your prepared pan and press it down firmly with the back of a spoon or a flat-bottomed glass. It’s essential to create an even, firm crust here because it won’t be baked to hold it together.
Place the pan in the refrigerator while you prepare the filling.
Step 3: Make the Lemon Filling
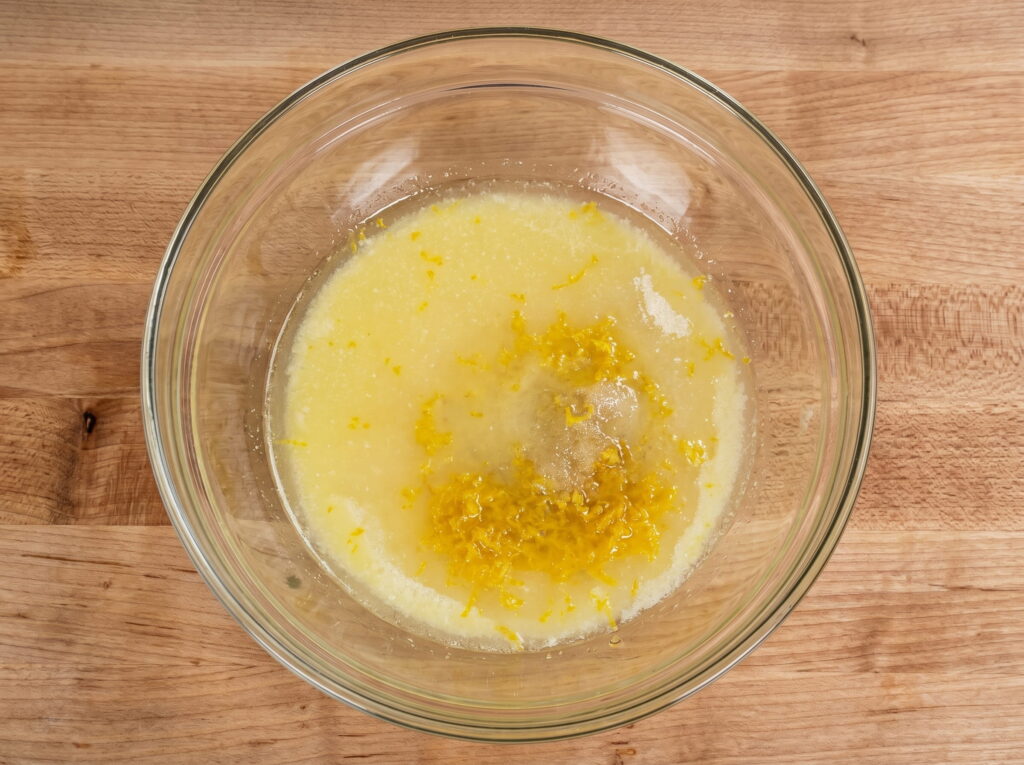
In a large bowl, whisk together the sweetened condensed milk, lemon zest, lemon juice, and the remaining ¼ teaspoon of salt. Keep whisking until everything is smooth and well combined. At that point, the mixture will smell absolutely amazing.
Step 4: Whip the Cream (If Using Heavy Cream)
In a separate large bowl, using a hand mixer or stand mixer, whip the heavy cream until stiff peaks form. This means that when you lift the beater out of the bowl, the cream holds its shape. Be careful not to overwhip—you want fluffy cream, not grainy.
If you’re using store-bought whipped topping, skip this step and go straight to folding.
Step 5: Fold Everything Together
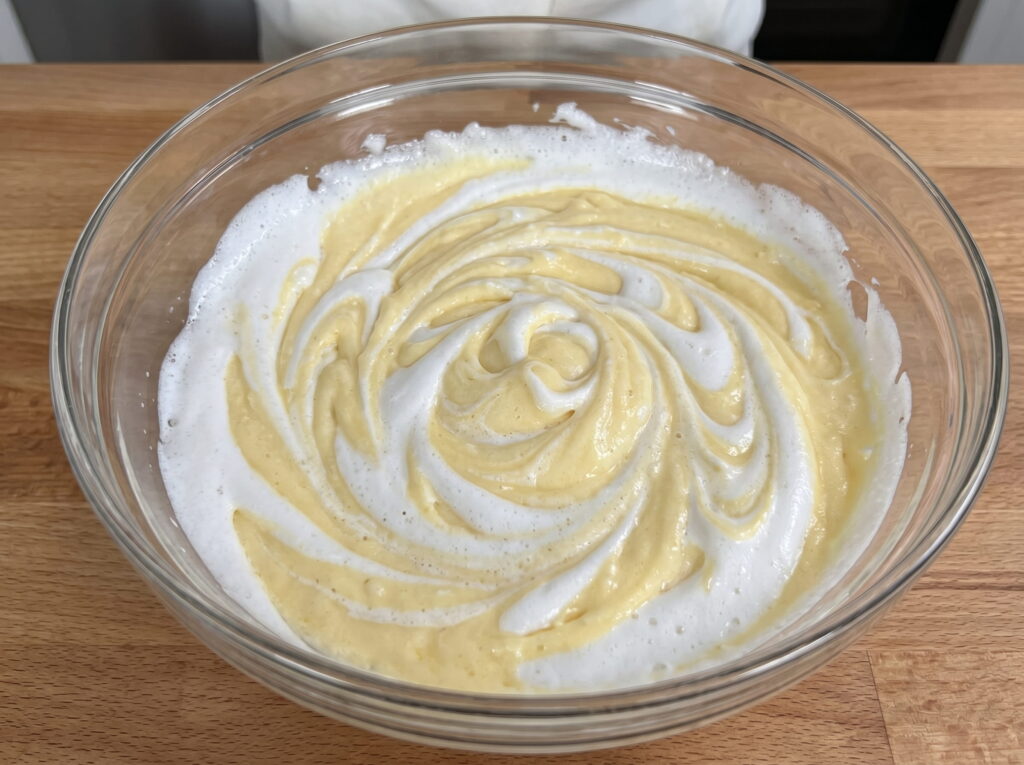
Gently fold the whipped cream (or whipped topping) into the lemon mixture. Use a rubber spatula and work in light, spreading motions from the bottom of the bowl upward. The goal is to keep as much air in the cream as possible, which makes the filling beautiful and fluffy. A few light streaks are fine—just don’t overmix.
Step 6: Assemble and Chill
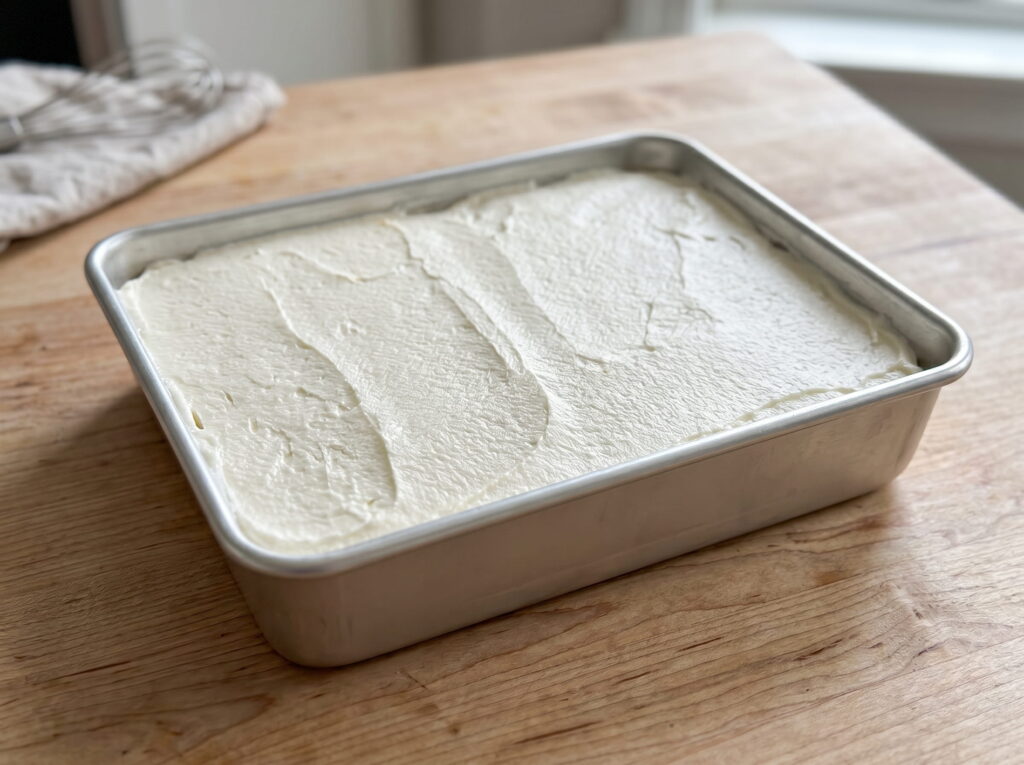
Pour the lemon filling onto the chilled crust and spread it in an even layer. Cover the pan with plastic wrap or a lid and refrigerate for at least four hours. If you’re planning ahead, it’s even better to let it sit overnight.
Step 7: Cut and Serve
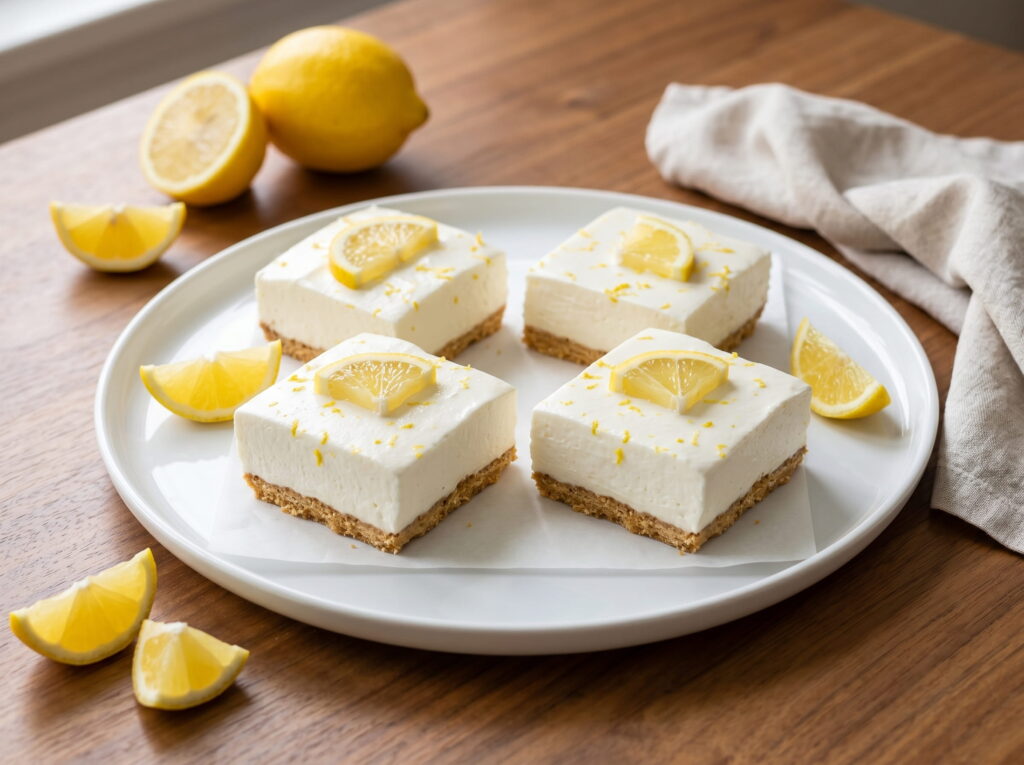
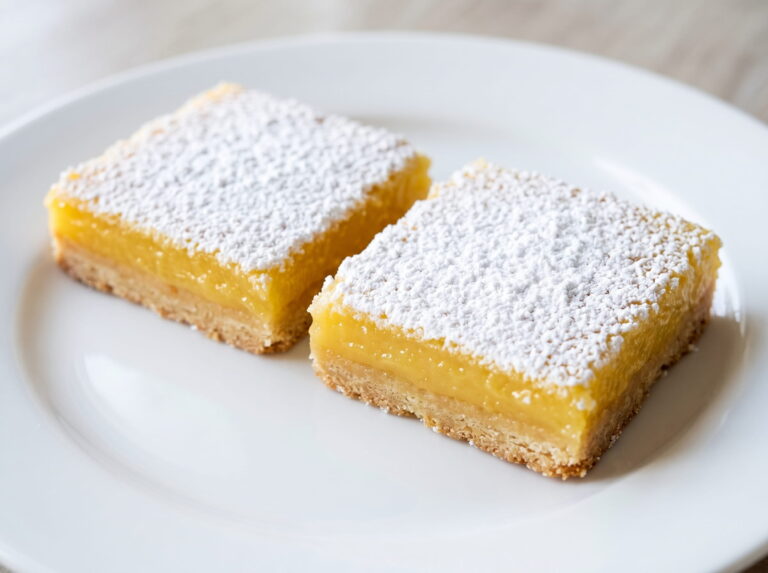
Once it’s set, use the overhanging parchment to lift the entire dessert out of the pan in one piece. Place it on a cutting board and cut it into 16 bars. Dipping a sharp knife in hot water before each cut will give you clean, even edges.
For extra color and flavor, sprinkle a little more lemon zest on top. It’s ready!
Related
4 Comments